Pad Printing Explained: How It Works for Promotional Pens and Small Items
Discover how pad printing works for promotional pens and small items, including costs, MOQs, artwork tips, and when to use it for your branded merch.

Written by
Dane Santos
Branding & Customisation
If you’ve ever held a branded pen with a crisp logo on the barrel, or noticed a clean imprint on a keyring or USB drive, there’s a very good chance that logo was applied using pad printing. It’s one of the most widely used decoration methods in the promotional products industry, yet it remains one of the least understood — even among experienced marketers and resellers. Whether you’re a Brisbane-based marketing agency sourcing branded giveaways for a client event, or a Sydney reseller managing bulk stationery orders, understanding how pad printing works will help you make smarter, more confident decisions when it comes to branded merchandise.
What Is Pad Printing and How Does It Work?
Pad printing is an indirect printing process that transfers a 2D image onto a 3D surface using a silicone pad. It’s particularly well suited to objects that are curved, irregular, recessed, or otherwise difficult to print on using conventional methods. The process sounds simple at first glance, but there’s real precision involved.
Here’s how the process works step by step:
- Artwork is etched into a plate (cliché): Your design — usually a logo or short text — is chemically etched or laser engraved into a flat metal or polymer plate, creating a recessed image. Each colour in your design requires a separate plate.
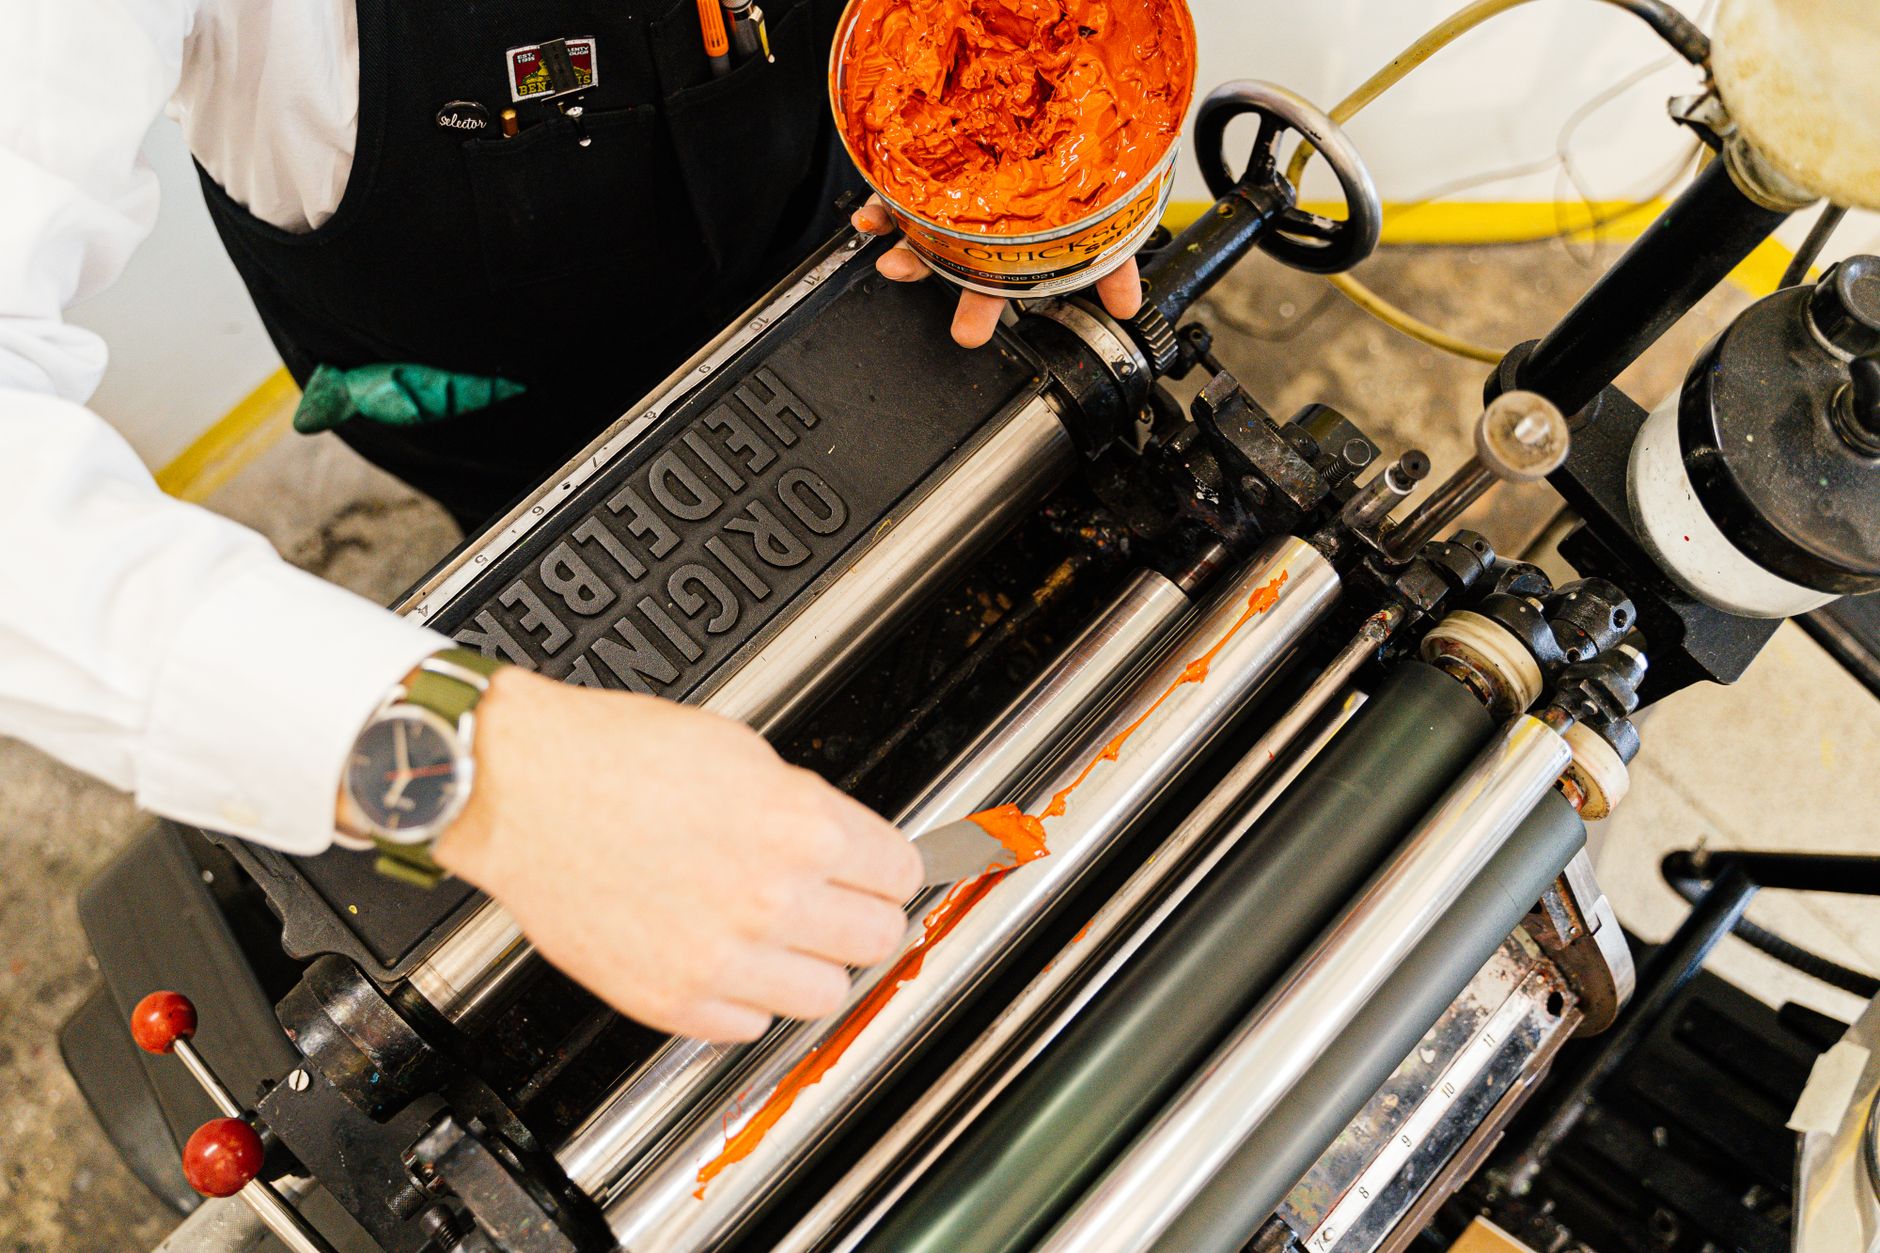
- Ink fills the etched area: A specialised ink cup passes over the cliché, filling the recessed design with ink. Excess ink is wiped away, leaving only the ink in the etched image.
- The silicone pad picks up the ink: A silicone pad is pressed onto the ink-filled cliché, picking up the image with precision.
- The pad transfers the image to the product: The pad then presses onto the surface of the item — a pen barrel, a keyring, a USB cap — depositing the ink and leaving behind a clean, accurate imprint.
The silicone pad is key to the whole operation. Because it’s soft and flexible, it can conform to curved and uneven surfaces, which is why pad printing works on items where screen printing or digital printing simply can’t.
Why Pad Printing Is the Go-To Method for Promotional Pens
Promotional pens are one of the highest-volume products in the branded merchandise industry, and pad printing is almost universally the method used to decorate them. The reasons are practical and straightforward.
Pen barrels are cylindrical. They’re small, they curve, and they don’t offer a flat print surface. Pad printing handles this beautifully, wrapping a clean logo around the barrel with consistent ink coverage. The imprint area on a standard promotional pen is typically around 40–50mm wide by 8–10mm high, which is enough for a logo and a short URL or tagline.
Most standard promotional pens in Australia come with a one to two colour pad print as standard, with each additional colour incurring an extra setup fee. A typical setup fee (also called a cliché fee) runs somewhere between $30 and $60 per colour, though this varies by supplier. Once those plates are created, the per-unit printing cost is low, which is why pad printing is so cost-effective at volume.
For resellers placing bulk orders — say, 500 to 5,000 units for a Melbourne corporate client — the economics of pad printing are very attractive. Setup costs are absorbed over the run, and the per-unit price drops significantly at higher quantities.
What Other Small Promotional Items Use Pad Printing?
Beyond pens, pad printing is applied across a broad range of small promotional products. If you’re sourcing items for a trade show, conference, or client gift campaign, you’ll likely encounter pad printing on most compact, hard-surface items. Common examples include:
- Keyrings and key tags
- USB drives and tech accessories (such as the laser engraved wireless chargers that sometimes combine both methods)
- Lanyards hardware and clasps — including products like custom USB lanyards where the USB component is often pad printed
- Lip balm tubes and cosmetic items
- Bottle openers and multi-tools
- Small plastic toys and giveaways
- Stress balls and squeezable items
- Rulers, calculators, and desk accessories
- Parking disc holders — a niche but popular item like promotional parking disc holders used by car wash businesses
- Pill cases, hand sanitiser bottles, and other wellness products — a growing category given the health and wellness promotional product trend growth we’ve seen across Australia in recent years
The versatility of pad printing is one of its defining strengths. If a product has a hard surface, is relatively small, and doesn’t require full-colour photographic reproduction, pad printing is often the right call.
Artwork Requirements for Pad Printing
Getting your artwork right before you submit an order will save you time, money, and frustration. Pad printing has some specific requirements that differ from other decoration methods.
Keep It Simple
Pad printing works best with solid colour logos, text, and simple graphic elements. It’s not the right method for gradients, photographic images, or fine halftone details. If your client’s logo involves a complex gradient or a highly detailed illustration, you may need to consider alternative methods — or work with a designer to create a simplified version specifically for pad printing.
Artwork File Formats
Most suppliers will request vector files (AI, EPS, or PDF) with fonts outlined. Vector files ensure that lines are clean and scalable, which matters enormously when you’re printing at small sizes. Raster files (JPGs, PNGs) are generally not suitable unless they’re extremely high resolution.
Colour Matching
Each colour in the design requires its own plate and its own pass through the machine. Colours are typically matched to Pantone (PMS) codes to ensure consistency across a print run. If your client has strict brand colour standards, make sure you specify the exact PMS code when placing the order — don’t rely on on-screen colour representations.
Minimum Sizes
Fine lines and small text can be tricky in pad printing. As a general rule, text should be no smaller than 6–7pt to remain legible on the final product, and fine lines should be at least 0.5mm thick. Always request a physical sample or a digital proof before approving a large run.
Pad Printing vs Other Decoration Methods: When to Use What
Understanding when pad printing is the right choice — and when it isn’t — will make you a more valuable partner to your clients. Here’s a quick comparison with other common methods.
Pad Printing vs Screen Printing
Screen printing is excellent for flat surfaces like t-shirts, tote bags, and promotional products like bags. It typically offers vibrant colour output and can handle larger print areas. But it doesn’t work on curved or irregular 3D surfaces, which is where pad printing steps in. If you’re comparing the two, you can also explore screen printing services for promotional products in Melbourne to understand the screen printing process in more depth.
Pad Printing vs Laser Engraving
Laser engraving removes material to create a permanent mark — it doesn’t use ink at all. It’s ideal for metal products, wood items, and glass surfaces like glass branded water bottles. Laser engraving offers longevity and a premium feel, but it’s a single-colour (or no-colour) result. If your client needs a coloured logo on a pen, pad printing wins. If they want a prestige look on a metal product, laser engraving may be more appropriate.
Pad Printing vs Sublimation
Sublimation infuses dye into the material itself and is perfect for full-colour, all-over designs on polyester fabrics and certain hard substrates — like custom sublimated singlets or drinkware that goes through a UV printing and curing process. It’s not suitable for most small hard plastic items where pad printing excels.
Practical Ordering Tips for Pad Printed Items
When placing an order for pad printed promotional products, keep these practical points in mind:
- MOQs: Most suppliers in Australia have a minimum order quantity of 100–250 units for pad printed pens and small items. Some suppliers will go lower, but setup costs make small runs expensive per unit.
- Lead times: Standard turnaround for pad printed items is typically 10–15 business days from artwork approval, though rush options are often available for an additional fee. If you’re sourcing for a time-sensitive campaign — like Easter branded gifts or Valentine’s Day promotional gifts — always factor in extra lead time.
- Sample ordering: Always request a pre-production sample or physical sample before committing to a large run, especially for new clients or new artwork.
- Proofing: Don’t skip the digital proof stage. Review it carefully against the client’s brand guidelines, checking colour, placement, and size.
- Setup fees: These are usually charged once per colour, per design. If a client is reordering the same logo, ask the supplier if clichés can be retained to waive setup fees on future runs.
Pad Printing in Regional and Specialised Contexts
Pad printing isn’t just a big-city activity. Suppliers across Australia offer pad printed products for organisations of all sizes. A Darwin business ordering branded pens for a government department, a Hobart retailer sourcing logo’d keyrings, or a reseller fulfilling orders for businesses in Alice Springs or the ACT — all can access quality pad printing through reputable Australian suppliers. Even niche applications like promotional emergency whistles for outdoor worker safety or personalised ribbons in Perth may involve pad printing on specific hardware components.
It’s also worth noting that as product categories diversify, pad printing is turning up on increasingly creative items — from promotional plant pots with small branding details to compact components on insulated lunch bags.
Conclusion: Key Takeaways on Pad Printing for Promotional Items
Pad printing explained simply is this: it’s a precise, flexible, cost-effective method for putting your brand on small, curved, or irregular items — and it dominates the promotional pen and small merchandise category for very good reasons. Here’s what to remember:
- Pad printing is ideal for small, curved, and hard-surfaced items — pens, keyrings, USB drives, and similar products that other methods can’t easily handle.
- Each colour requires a separate plate and setup fee, so keeping artwork to one or two colours will keep costs manageable on smaller runs.
- Vector artwork and PMS colour codes are essential — always prepare properly formatted files before placing an order.
- MOQs typically start at 100–250 units, making pad printing accessible for mid-sized campaigns but less economical for very small runs.
- Pad printing is one tool in a broader toolkit — knowing when to use it versus laser engraving, screen printing, or sublimation is what separates a knowledgeable supplier from a guesswork-driven one.
With this understanding, you’re better equipped to advise clients confidently, manage supplier briefs accurately, and deliver branded merchandise that looks exactly as intended.